We've previously covered how to maintain WordPress, through backups, optimization, updates and using centralized WordPress Management Dashboards.
Today we'll look at some of those WordPress Management Dashboards in more detail, to see how they help keep WordPress up to date.
What Is a Centralized WordPress Management Dashboard?A centralized WordPress management dashboard allows you to manage several WordPress websites from a single, central interface. Instead of having to go to each WordPress website's administration interface and update your themes and plugins, you can perform all of these operations, across all of your WordPress websites, from a single interface.
How Do Centralized Dashboards Communicate with My WordPress Website?Almost all WordPress management dashboards require you to install a WordPress Plugin, and use an API key to securely read your WordPress theme and plugin information. This same mechanism is used to tell WordPress to update its themes and plugins.
All of the solutions we'll be looking at today use this method for communication: WP Remote, iThemes Sync and ManageWP. There are others, but these are some of the more popular options.
WP RemoteWP Remote provides monitoring for an unlimited number of WordPress websites, for free.
RegistrationTo register for WP Remote, visit WP Remote, and click the Add your first site option. Then, enter your name, email address and a password: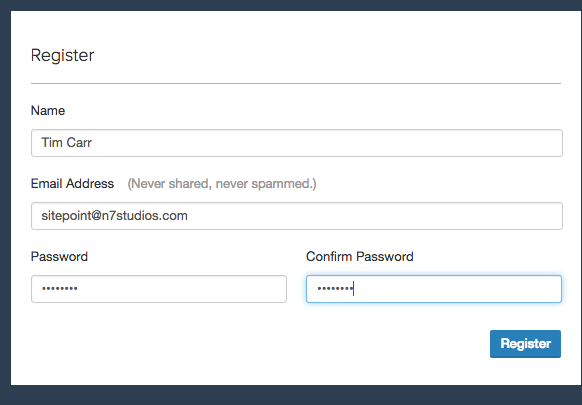
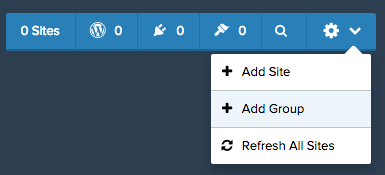
Once you've registered, you'll automatically be taken to the WP Remote Dashboard. From here, let's add our first site by clicking the Add Site option:
In the modal box which appears, enter the name and URL of your website.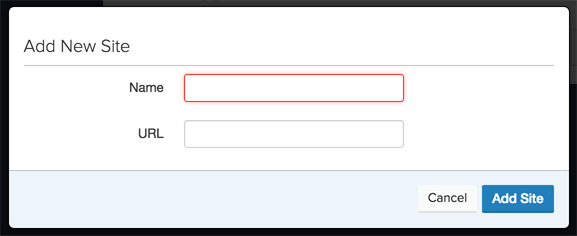
After a moment, you'll see some on screen instructions covering how to install the WP Remote WordPress plugin onto your website. This allows WP Remote to communicate with your website, check for updates for your themes and plugins, and update those themes and plugins from the central dashboard.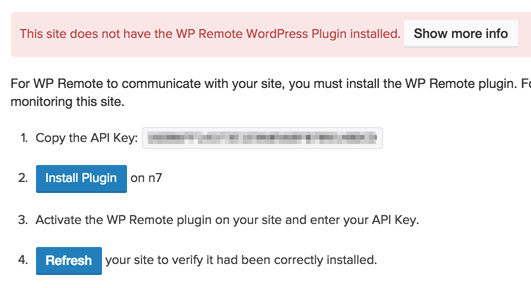
Make a note of the API key, and click the Install Plugin button.
This will load your WordPress Administration interface in a new browser window/tab, where you can login. Once logged in, you'll see the familiar Add Plugins screen, with the WP Remote WordPress Plugin. Click the Install Now button: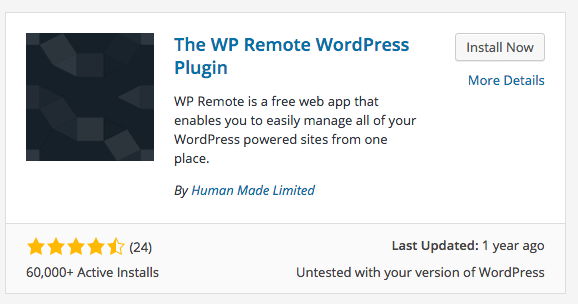
Once installed, click Activate Plugin: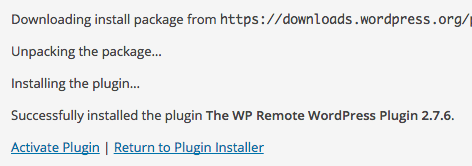
A notification will appear on screen asking for your API key. If you didn't copy this from the WP Remote dashboard, open the dashboard to get your API key.
Once you've entered your API key, click Save API Key:
If everything worked, you'll see a success notice in WordPress:
Back at the WP Remote dashboard, click the Refresh button so that WP Remote can start managing your WordPress website.
UpdatesWhen you login to your WP Remote dashboard, you'll be able to see an overview of the number of theme and plugin updates available: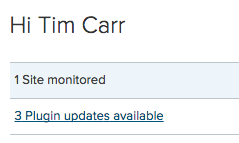
To update your themes or plugins, click the notice or the Updates tab. Here, you have two options:
To update your themes or plugins for a single site, click the individual site in the left hand sidebar.
You'll then see a breakdown of the themes and plugins available for update for that specific WordPress installation, with more granular control to update all themes, all plugins or individual themes & plugins.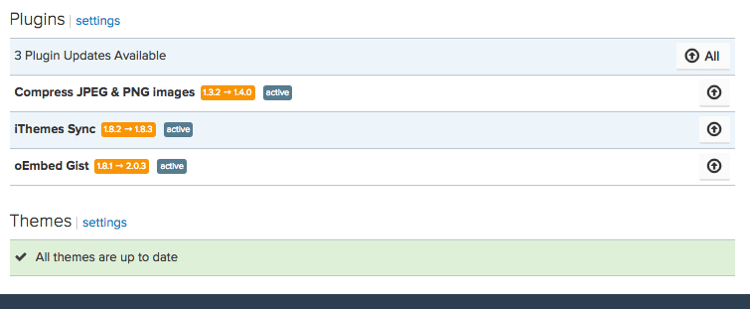
Pros:
Cons:
iThemes Sync provides free monitoring for up to 10 WordPress websites. Additional sites can be purchased.
RegistrationRegistration for iThemes Sync requires several steps.
First, visit iThemes Sync and click the Manage 10 sites for free! button.
You'll then be taken through a checkout process (but don't worry, there's nothing to pay for). Click the Checkout button, and then enter your details to register an account with iThemes.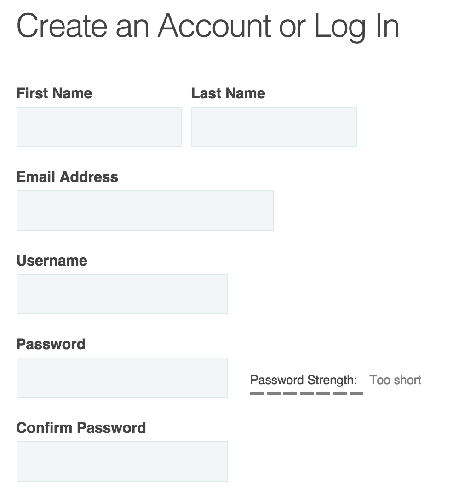
Once completed, you'll see confirmation thanking you for your payment (although there was nothing to pay for, so don't panic!). Whilst you could click the Login link to login, I found this didn't actually log you into iThemes Sync, but instead logs you into your account where you can see your previous orders.
Instead, let's now navigate to iThemes Sync Dashboard, where you can login with the username and password used during the checkout process: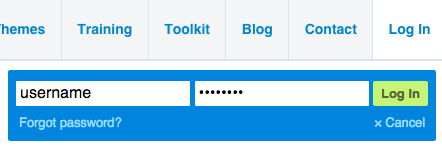
Once logged in, click the Add Site button towards the top right:
Enter your WordPress Site Address, Admin Username and Password, and click Add Site: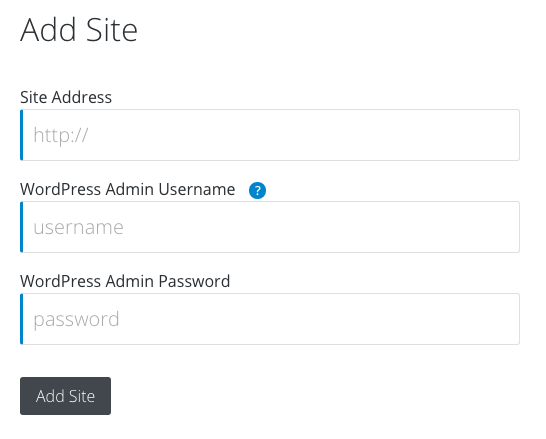
iThemes Sync will attempt to login using the details provided, and if successful, will automatically install the iThemes Sync WordPress Plugin so it can communicate with your WordPress website to remotely update its themes and plugins.
UpdatesiThemes Sync allows you to view Core Updates (that's updates to WordPress itself), Plugin Updates, Theme Updates or All Updates across your WordPress websites, by using the appropriate button towards the top of the screen.
Clicking an Update button then lets you review the updates that will be carried out. By default, all items for all sites are selected, so if you want to update everything, just click the Update Selected button: 
Alternatively, select the updates to apply, and then click the button. You can use this option to select updates on a per-site basis, or for a specific theme or plugin.
Another feature of iThemes Sync is its support for two factor authentication (2FA). For security, this is important, as if your iThemes Sync username and password were compromised, hackers could potentially manage all of your WordPress websites (although they'd only be able to perform updates).
Pros and ConsPros:
Cons:
ManageWP provides free monitoring for up to 5 domains.
RegistrationTo register for ManageWP, visit https://managewp.com, and click the Let's get started button. Then, enter your name, email address and a password:
Once you've registered, you'll automatically be taken to the ManageWP Dashboard. From here, let's add our first site by entering the domain name of the WordPress website we want to manage. Make sure you also choose the Yes, install and activate the Worker plugin for me. option, and then enter your WordPress Administrator username and password: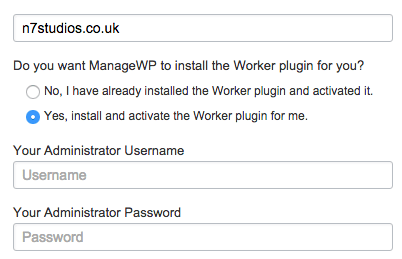
Note: If you've protected your WordPress Administration login with HTTP authentication, ManageWP has a really useful feature where you can specify those credentials. Click the Advanced option and enter the additional login details: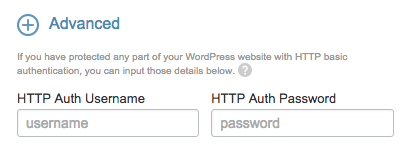
When you login to your ManageWP dashboard, you'll be able to see an overview of the number of theme and plugin updates available in the Overview panel:
To update all of your themes and plugins, click the Update Everything button:
To view the available updates for a specific site, click the site domain in the left hand sidebar.
You can then use the Overview panel to update all themes and plugins for that specific site: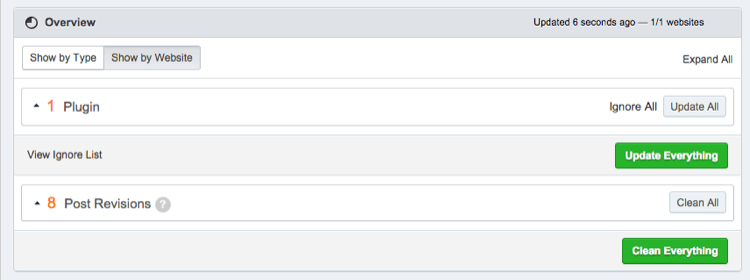
Pros:
Cons:
The WordPress dashboards we've reviewed today all provide one click WordPress plugin and theme updates, making managing WordPress a breeze.
WP Remote allow you to manage an unlimited number of WordPress websites, however require a manual process to setup the WordPress Plugin to connect each site to WP Remote.
iThemes Sync provides support for up to 10 WordPress websites. Whilst the initial registration process has several steps, adding each WordPress site to iThemes Sync is quick, with the WordPress Plugin automatically installed by iThemes. It's UI is one of the simplest to use, with clear indications of the number of updates available.
Finally, ManageWP provides support for up to 5 WordPress websites. With a quick registration and WordPress website setup process, and HTTP authentication support, it's ideal for those wanting to get started the quickest. However the UI can be confusing at times, with a lot of information and options available.
Source: Managing WordPress Updates Remotely
No comments:
Post a Comment